How to host a React app on Azure
KW
2 Feb 2021
•
2 min read

Azure App Service is a PaaS that allows you to host web, mobile apps, web API’s and logic apps. This article explains about how to host your react app on azure app service. Assuming you have npm and VS Code installed in your machine, follow below steps sequentially.
- Open VS Code terminal.
- Create a react app by running ‘npx create-react-app my-app‘ command.
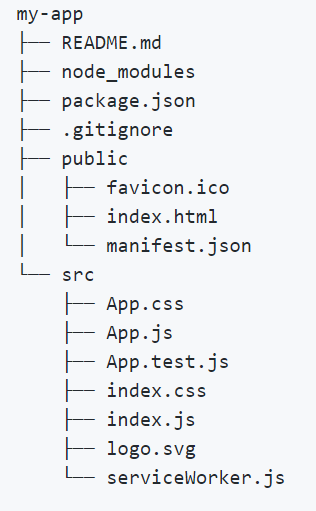
- The folder structure of the app should look like this.
- Add web.config in public folder with following content.
<?xml version="1.0"?>
<configuration>
 <system.webServer>
   <rewrite>
     <rules>
       <rule name="React Routes" stopProcessing="true">
         <match url=".*" />
         <conditions logicalGrouping="MatchAll">
          <add input="{REQUEST_FILENAME}" matchType="IsFile" negate="true" />
          <add input="{REQUEST_FILENAME}" matchType="IsDirectory" negate="true" />
          <add input="{REQUEST_URI}" pattern="^/(api)" negate="true" />
         </conditions>
         <action type="Rewrite" url="/" />
       </rule>
     </rules>
   </rewrite>
 </system.webServer>
</configuration>
- Move inside project by running ‘cd my-app’ command.
- Run ‘npm run build’ command. Now this Builds the app for production to the build folder. It correctly bundles React in production mode and optimizes the build for the best performance. The build is minified, and the filenames include the hashes. Your app is ready to be deployed.
- Run ‘npm start’ to launch it locally. Access http://localhost:3000 to launch it in browser and see.
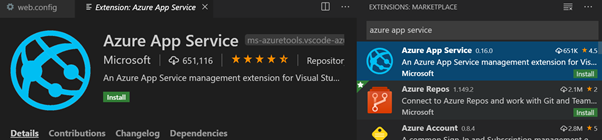
- Switch to VS Code, install ‘Azure App Services’ Extension.
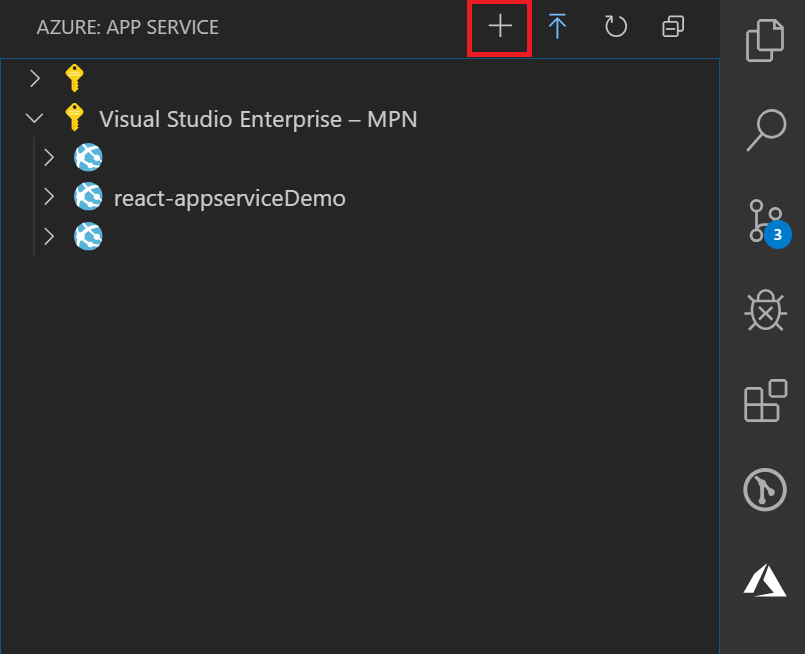
- Select Azure app service tab and click on ‘+’ icon to create a new web-app.
- When Prompted, Sign in with your azure credentials or if you do not have credentials, create a free account by signing up here.
- Chose proper subscription, chose a globally unique name (in my case react-appserviceDemo) , chose Windows as the environment and proceed.
- When prompted to deploy or cancel, chose Deploy option.
- Select my-app/build folder to deploy when prompted with folder browse option.
Browse Folder option
Select Build Folder
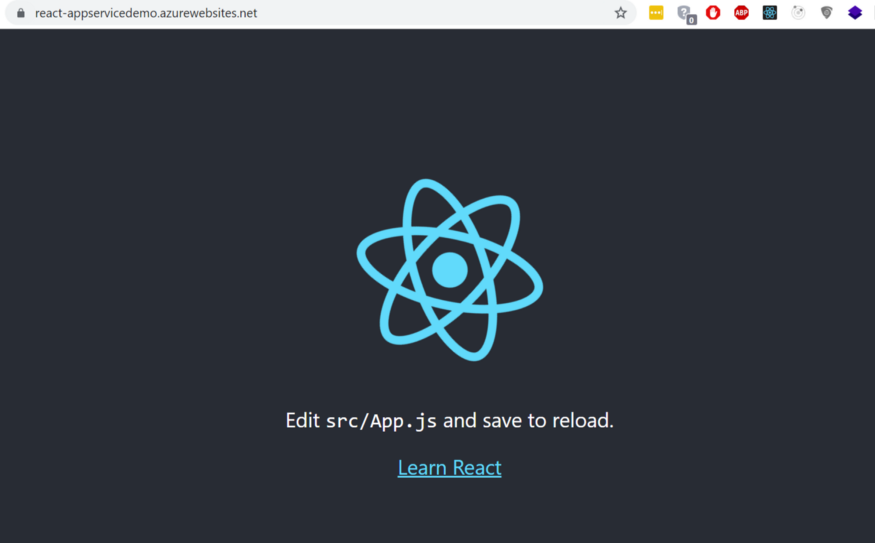
- Once the Deployment is complete browse to the app service url (in my case it is https://react-appservicedemo.azurewebsites.net) and woahh!! our react is now deployed to Azure app service.

Did you like this article?

WorksHub
Jobs
Locations
Articles
hello@works-hub.com
Ground Floor, Verse Building, 18 Brunswick Place, London, N1 6DZ
108 E 16th Street, New York, NY 10003
Subscribe to our newsletter
Join over 111,000 others and get access to exclusive content, job opportunities and more!